
When your Sub Zero ice maker fails to produce ice, it can be frustrating and inconvenient. However, fear not, as we are here to guide you through the process of diagnosing and fixing the issue. In this comprehensive repair guide, we will walk you through the troubleshooting steps to identify the root cause of the Sub Zero ice maker not making ice problems and provide detailed instructions on how to fix it.
Step 1: Check the Power Supply
The first thing you should do is ensure that the ice maker is receiving power. Start by checking the power cord to make sure it is securely plugged into the outlet. If the power cord is connected properly, move on to check the circuit breaker or fuse box to see if a tripped breaker or blown fuse is causing the issue. Reset the breaker or replace the fuse if necessary.
Step 2: Inspect the Water Supply
A common reason for a Sub Zero ice maker not making ice is a lack of water supply. Check the water supply valve to make sure it is fully open and that the water line is not kinked or blocked. If the water supply valve is open and the water line is clear, proceed to the next step.
Step 3: Examine the Water Inlet Valve
The water inlet valve controls the flow of water into the ice maker. Inspect the valve for any signs of damage or debris that may be obstructing the flow of water. If the valve is damaged or clogged, it will need to be replaced.
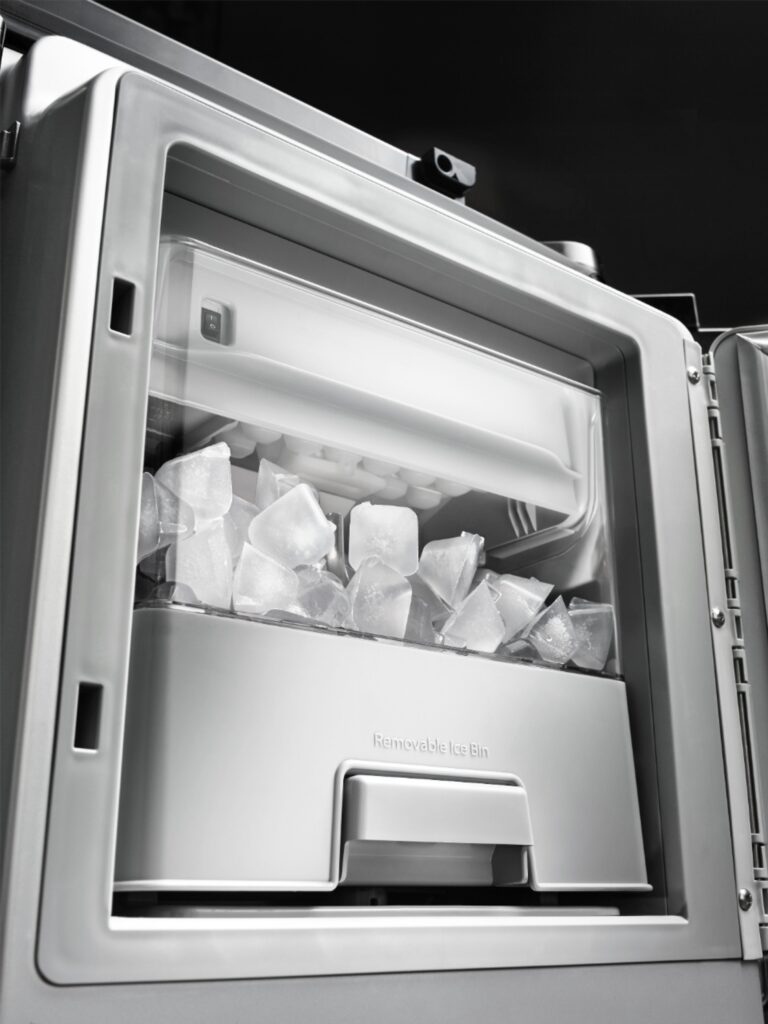
Step 4: Clean the Ice Maker Components
Over time, mineral deposits and debris can build up inside the ice maker, causing it to malfunction. Remove the ice maker from the freezer and clean the ice mold, ice bin, and any other components with warm, soapy water. Be sure to rinse thoroughly to remove any soap residue.
Step 5: Check the Ice Maker Control Arm
The ice maker control arm is responsible for regulating the ice-making process. Ensure that the control arm is in the correct position and free of any obstructions. If the control arm is stuck or damaged, it may need to be replaced.
Step 6: Test the Ice Maker
Once you have completed the above steps, it’s time to test the ice maker to see if the issue has been resolved. Plug the ice maker back in and wait for it to cycle through a complete ice-making cycle. If ice is produced as expected, then congratulations! You have successfully fixed your Sub Zero ice maker.
Conclusion
Dealing with a Sub Zero ice maker not making ice can be frustrating, but with the right troubleshooting steps, you can diagnose and fix the issue yourself. By following the steps outlined in this guide, you can save time and money on costly repairs. If you have followed all the steps and the problem persists, it may be time to contact a professional technician for further assistance.
FAQs
- Q: Why is my Sub Zero ice maker not making ice?
A: Several factors, such as power supply issues or water inlet valve problems, could be at play. Our guide can help diagnose the issue.
- Q: How can I check the power supply to my ice maker?
A: Start by ensuring the power cord is securely plugged in and check the circuit breaker or fuse box for any issues.
- Q: What should I do if the water supply seems fine but the ice maker still won’t produce ice?
A: You may need to inspect the water inlet valve for damage or blockages and clean the ice maker components.
- Q: What if I can’t fix my ice maker on my own?
A: If troubleshooting doesn’t work, contacting a professional technician like those at Sub Zero Appliance Repair may be necessary.
- Q: Can I prevent future issues with my Sub Zero ice maker?
A: Regular maintenance, such as cleaning the ice maker components and checking for any signs of damage, can help prevent future problems.
Have a stubborn Sub Zero ice maker? Let our experts at Sub Zero Appliance Repair lend a hand. Contact us today for swift, reliable Sub Zero ice maker repair solutions!
For more insights on Sub Zero ice maker issues, check out our blog “Sub Zero Ice Maker Service: Common Issues and Solutions.”