
Your Sub Zero freezer or other brand is important for keeping your food fresh. But did you know that the condenser coils inside it affect how well it works? Over time, dust and dirt can build up on these coils. This makes it harder for air to flow, and your freezer has to work harder. When this happens, it uses more energy and may not last as long. The good news is that cleaning the freezer coils is easy. Doing this can make a big difference for your appliance.
Preparing to Clean Your Freezer Coils
Before you start cleaning, it’s important to get the right tools and be safe. Having everything ready will make the job easier.
First, safety is key when using any appliance. Always unplug your freezer from the power outlet before you begin cleaning. This step helps keep you safe and protects your appliance.
Safety Tips Before Starting
When cleaning electrical appliances like freezers, your safety should come first. Before you start cleaning, follow these steps:
- First, unplug your freezer from the wall. This is very important. It greatly cuts down the chance of getting an electrical shock. Water and electricity do not mix, so it’s best to be safe and unplug it.
- Next, make sure the area around your freezer is dry and clear of any items. This helps create a safe space for you to work and stops you from tripping or spilling anything. After you have taken these steps, you can start cleaning with peace of mind, knowing you have put safety first.
Gathering the Necessary Tools and Materials
Assembling the right cleaning supplies is the next step. You will need:
- Vacuum cleaner: A vacuum with a crevice tool is important for getting dust and dirt from hard-to-reach spots.
- Brush: A long-handled brush, like a paintbrush or a special refrigerator coil brush, can help get rid of tough dirt.
- Cleaning cloth or rag: A damp cloth or rag is useful for wiping down the coils and nearby areas after vacuuming.
Having these tools ready will make cleaning easier.
Step-by-Step Guide to Cleaning Freezer Coils
With your safety measures ready and cleaning supplies close by, you can clean those freezer coils. Let’s make the cleaning process easy by breaking it down into clear steps.
First, gently pull your freezer away from the wall so you can reach the coils. Be careful and take your time to avoid damaging your floors. Once you have enough space, you can start the cleaning steps.
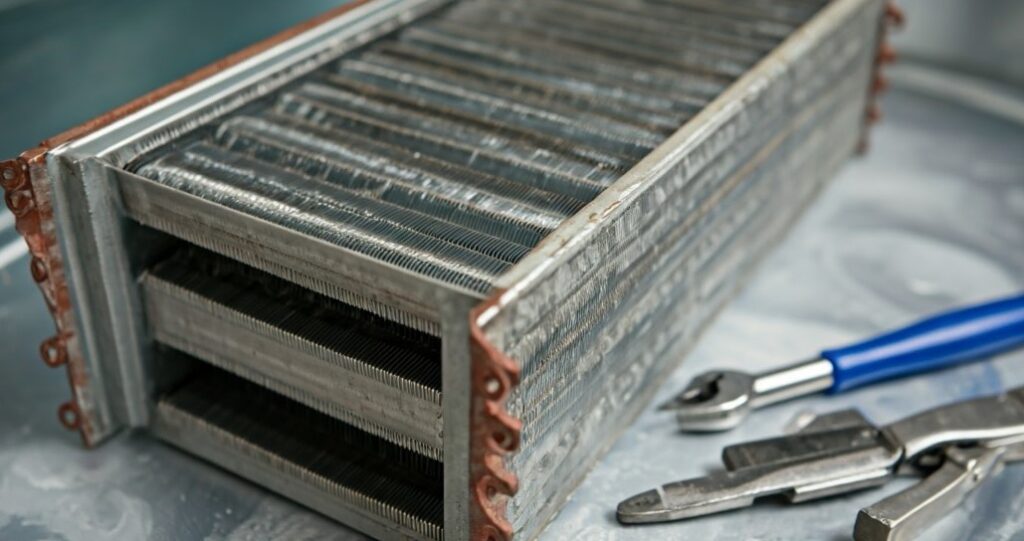
Locating the Coils in Your Freezer
Freezer coils are usually found in two spots: either on the back or under the appliance behind a toe grille. If your freezer has coils on the back, slide the appliance away from the wall to reach them.
If the coils are underneath, you may need to take off a grille that covers them. Check your freezer’s user manual for step-by-step instructions on this. Always unplug your freezer before you remove any parts.
After you find the coils, you can start cleaning them. This process is quite simple.
Detailed Cleaning Process
Now, let’s go over how to clean your freezer’s condenser coils:
First, take your vacuum cleaner. Use the crevice tool to get rid of loose dust and debris from the coils. If you have a brush attachment, use it gently to remove tougher dirt. Be careful so you don’t damage the coils while you clean.
If some dirt is really stuck, take a long-handled brush or a special refrigerator coil brush to help loosen it. After you do this, vacuum up the dirt you loosened. Finally, use a damp cloth or rag to wipe down the coils and the areas around them.
|
Step |
Action |
|
1 |
Vacuum loose dust and debris |
|
2 |
Use a brush to loosen stubborn dirt. |
|
3 |
Vacuum up the loosened dirt. |
|
4 |
Wipe down the coils and surrounding areas. |
Conclusion
To keep your freezer working well, you need to clean the coils regularly. By using our step-by-step guide on cleaning the freezer coils and safety tips, you can help your appliance perform at its best and last longer. It’s important to know that this maintenance helps stop overheating and lowers energy use. Make it a routine to check and clean your freezer coils now and then to prevent problems. For more helpful tips, visit our blog on Mastering How to Get Rid of Ice Buildup in Freezer.
Frequently Asked Questions
What are the symptoms of dirty fridge coils?
A drop in how well your fridge works, like not cooling enough or running all the time, usually means the coils are dirty. This poorer performance is a sign of blocked airflow. Dust and debris can pile up, making it hard for the coils to let out heat.
Why is it important to clean freezer coils?
Clean freezer coils are important for keeping your appliance working well. They help the freezer release heat correctly. This prevents the freezer from working too hard, which can help it last longer.
Are there any signs that indicate when freezer coils need to be cleaned?
If your freezer is always running, having trouble keeping its temperature, or feeling too hot at the back or bottom, it may mean that the coils need cleaning.